Database Setup
The setup for a database differs for each type.
MSSQL Database
Firstly, you have to create a database to make your table in and send data to. Remember these parameters as you need them to write them into the Connector later.
CREATE DATABASE databasename;
You need to know the connection parameters like the Database url/IP-address, the port for it and the database username and password. If you don't have a specific port, it uses the standard port for the database, in this case port 1433.
For example, if you create a database in MSSQL Server Management Studio or DBeaver, you have these parameters already when you have created any database there.
You can add constraints to the database to determine if a column is not null or is a primary key.
CREATE TABLE table_name (
    column1 datatype constraint,
    column2 datatype constraint,
    column3 datatype constraint,
   ....
);
This creates an empty table with the columns as specified.
Snowflake
This is how to create a table in the Snowflake User Interface called Snowsight.
Prerequisites:
- a valid Snowflake Account with an account identifier
- Sign in using Snowsight
Sign in using your account identifier and account credentials either at Public Internet or at a trial account URL.
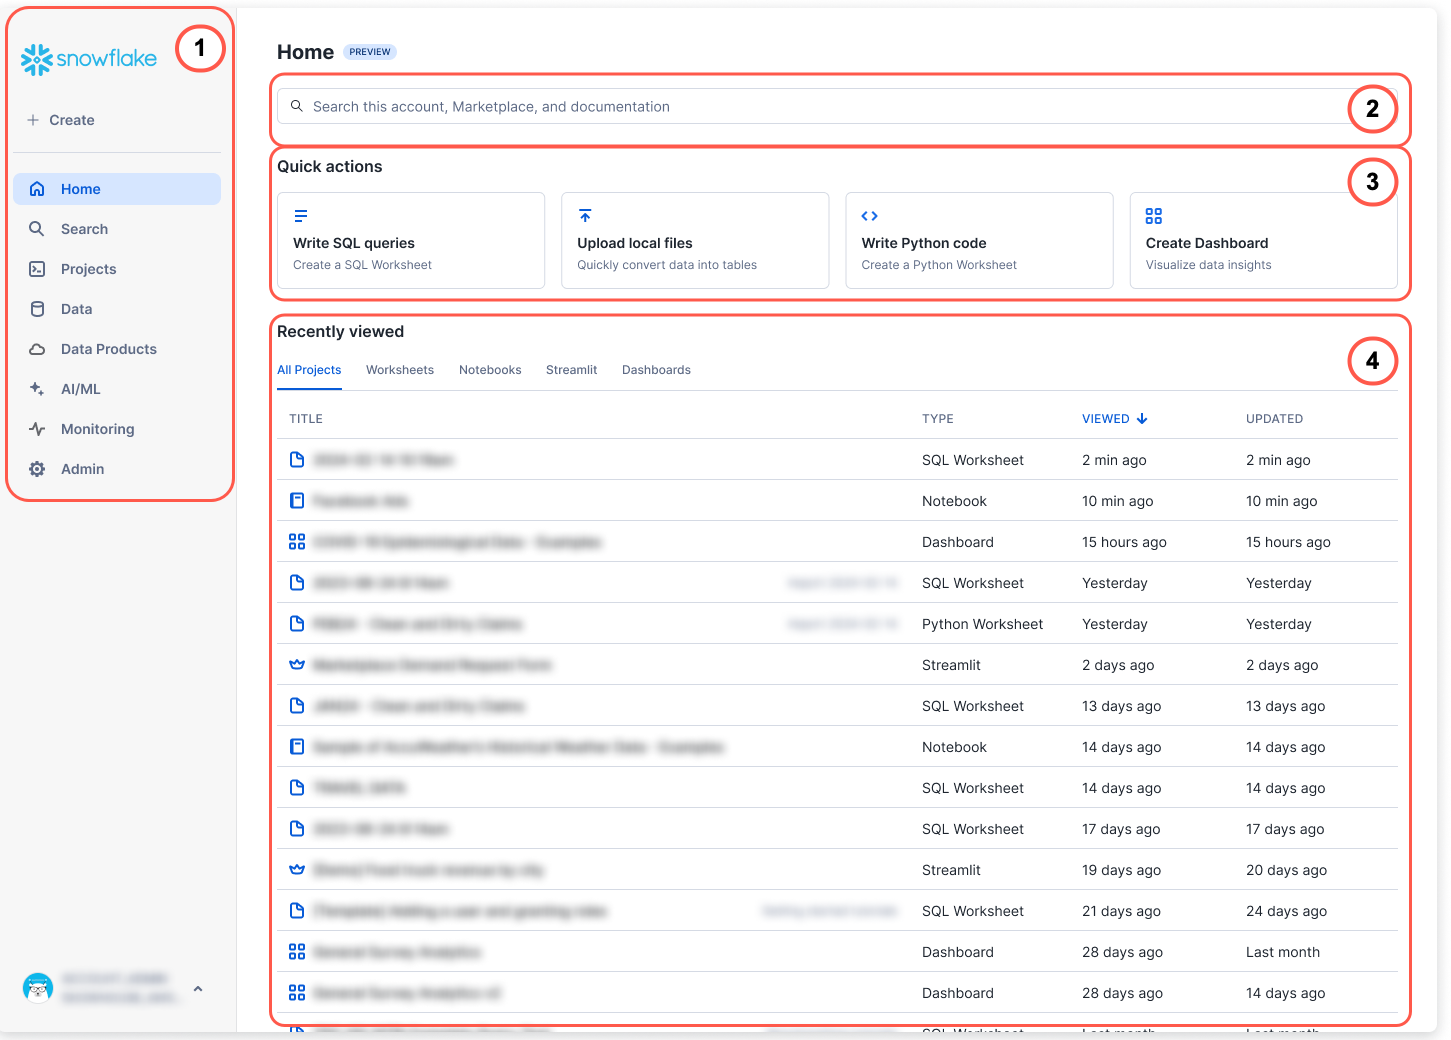
This is the Homepage of the Web-Interface.
- Create a new table
Creating a new table is very straightforward. On the home screen, click on "+ Create" and "Table". Then select "Standard".

You will be sent to a new screen, where you can either choose a pre-existing Database or create one to add your table to. Afterwards, define the table with the prepared SQL Statement.

For reference on which datatypes can be used for Snowflake Tables, please read Snowflake Data Types.
CREATE OR ALTER
    [ { [ { LOCAL | GLOBAL } ] TEMP | TEMPORARY | TRANSIENT } ]
  TABLE <table_name> (
    -- Column definition
    <col_name> <col_type>
      [ inlineConstraint ]
      [ NOT NULL ]
      [ COLLATE '<collation_specification>' ]
      [
        {
          DEFAULT <expr>
          | { AUTOINCREMENT | IDENTITY }
            [
              {
                ( <start_num> , <step_num> )
                | START <num> INCREMENT <num>
              }
            ]
            [ { ORDER | NOORDER } ]
        }
      ]
      [ COMMENT '<string_literal>' ]

    -- Additional column definitions
    [ , <col_name> <col_type> [ ... ] ]

    -- Out-of-line constraints
    [ , outoflineConstraint [ ... ] ]
  )
  [ CLUSTER BY ( <expr> [ , <expr> , ... ] ) ]
  [ ENABLE_SCHEMA_EVOLUTION = { TRUE | FALSE } ]
  [ DATA_RETENTION_TIME_IN_DAYS = <integer> ]
  [ MAX_DATA_EXTENSION_TIME_IN_DAYS = <integer> ]
  [ CHANGE_TRACKING = { TRUE | FALSE } ]
  [ DEFAULT_DDL_COLLATION = '<collation_specification>' ]
  [ COMMENT = '<string_literal>' ]
- Set public key
To make sure the correct Public Key is set in the Snowflake Table, you can use the following command:
ALTER USER /your-user/ SET RSA_PUBLIC_KEY= "/PUBLIC-KEY/";
For more information, please check out Snowflake Create Table.